
How to make Your Own Donut Dog Bed?
We humans have an unwavering desire to provide our furry friends with the absolute best. From tasty treats to long walks, we shower them with love and care. But what if there was a way to take their comfort to the next level? Picture this: a cozy and stylish retreat where your beloved pup can rest and relax like royalty. If you're a DIY enthusiast and a dog lover, prepare yourself for an extraordinary project that will ignite your creativity: making your very own donut dog bed! This captivating endeavor not only promises endless fun but also grants you the power to create a donut pet bed that perfectly suits your dog's needs.
Get ready to embark on a journey of craftsmanship and pampering, as we guide you through the steps of designing a unique and opulent donut dog bed that will have your four-legged friend wagging their tail with sheer delight.
Materials Needed for Donut Pet Bed:
- Circular foam cushion or pillow
- Fabric of your choice (enough to cover the foam cushion)
- Sewing machine or needle and thread
- Scissors
- Marker or chalk
- Measuring tape
- Velcro strips or zipper (optional)
- Filling material (such as polyfill or old pillows)
Wag Worthy DIY DOG BED: Step by Step Guide to Crafting the Coziest Bed Ever
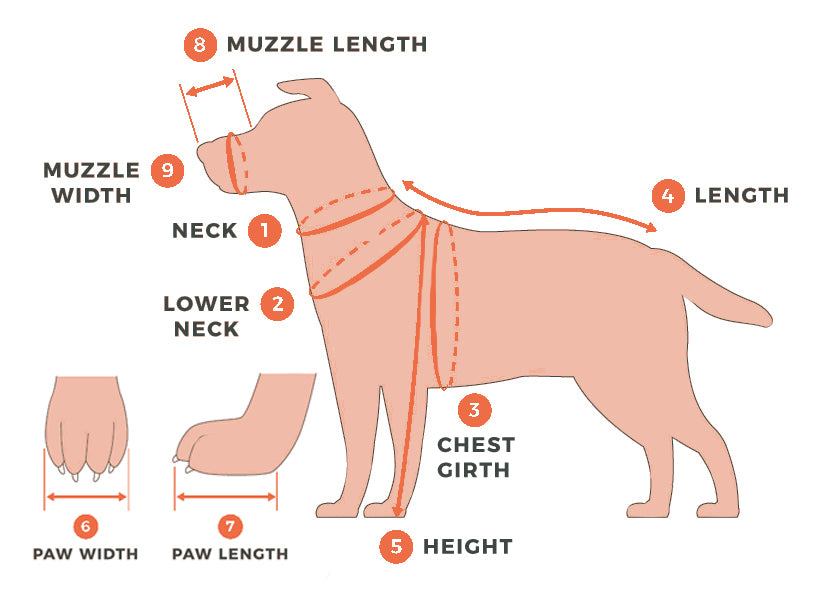
Step 1: Setting the Stage- Measure and Cut the Fabric
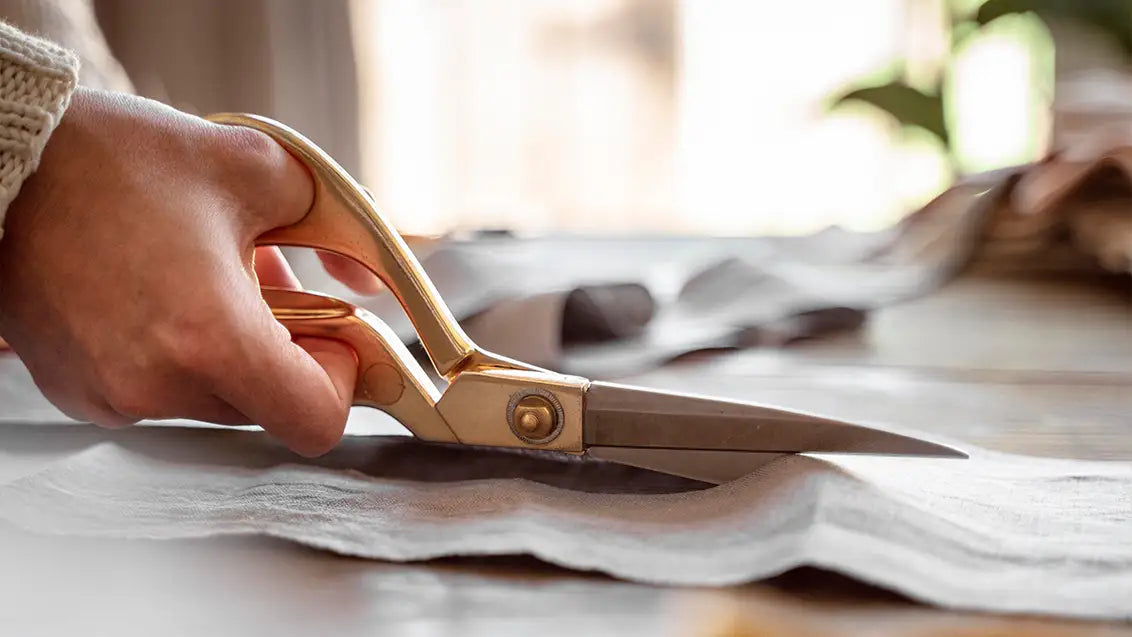
For your modern dog beds, let's kick off this creative adventure of creating a diy dog bed by delving into the first step: measuring and cutting the fabric. Begin by acquiring the dimensions of both the perimeter and width of the foam cushion. But wait! To ensure a snug fit, it's advisable to add a little extra to these measurements. Grab your marker or chalk and meticulously mark these dimensions on the chosen fabric. With great care, proceed to slice out a generously sized circular shape, ready to become the foundation of a dreamy donut bed for dogs.
Step 2: Canine Confection - Create the Donut Shape
In this step, we're going to transform that circular fabric into the iconic donut bed shape. Picture a delectable donut with its heavenly hole in the center. To bring this vision to life, determine the desired size for the inner circle. Ensure ample space for your furry friend to luxuriously sprawl out in their unique dog beds. Armed with precision, remove this smaller circle from the larger fabric circle, leaving you with a magnificent ring-shaped piece of fabric—a donut in the making.
Step 3: Weaving the Threads - Sew the Fabric Pieces Together
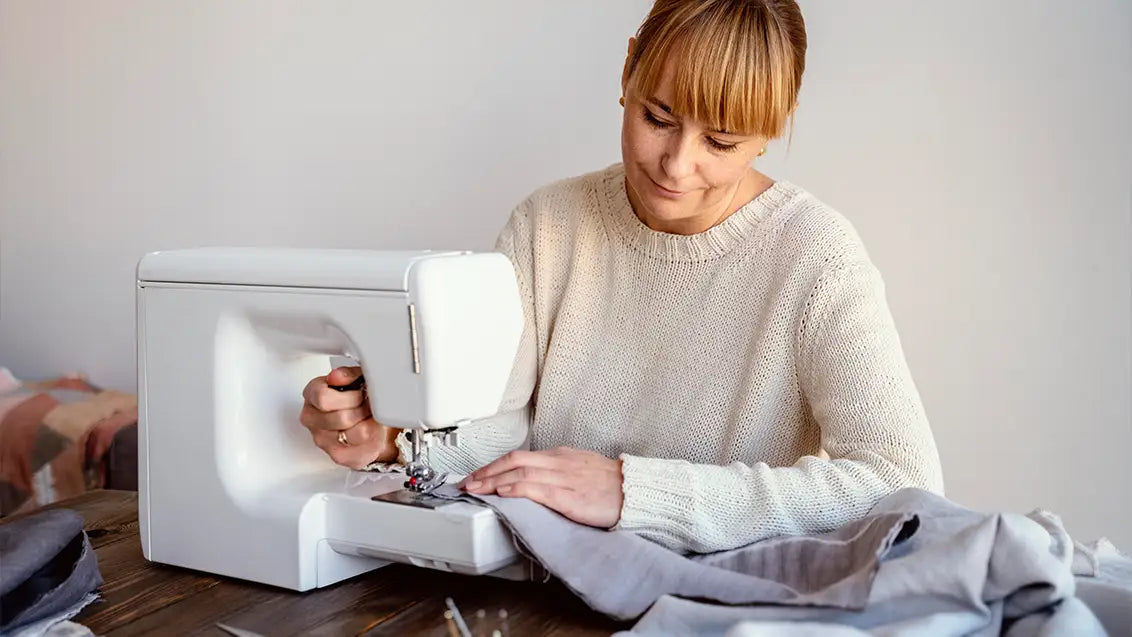
Prepare to embark on a stitching journey as we join the fabric pieces to create the ultimate dog bed donut for your canine companion. First, position the fabric hoop onto the foam cushion, aligning their edges with grace. If you fancy a removable cover for easy washing, it's time to unleash the power of Velcro or introduce a zipper. Sew strips of Velcro or attach a zipper along the cut boundaries of the fabric ring. This will grant you the magic ability to effortlessly open and close the dog bed donut, ensuring cleanliness is always a breeze.
Step 4: Layers of Delight - Sew the Edges and Stuff the Bed
Now comes the moment to bring it all together on your donut bed for dogs. Place the fabric ring snugly atop the foam cushion, taking care to fold the outer fabric over it with precision. Whether you opt for the magic of a sewing machine or the mastery of a needle and thread, secure the fabric firmly in place. Don't forget to leave a small gap, a secret passage for stuffing to enter the donut bed cozy interior. Once all the edges are securely sewn, delicately remove the fabric from its cushy cocoon.
Step 5: A Plush Oasis - Stuff the Bed and Close the Opening
Now, it's time to unleash the fluffy goodness. Grab your preferred filling material for your dog bed donut, whether it be the soft embrace of polyfill or the repurposed magic of recycled pillow stuffing. Generously stuff the circular fabric cover, distributing the filling evenly to create donut dog beds that not only cradles your dog in comfort but also provides optimal support. As you reach the desired level of plushness, skillfully sew up the opening, sealing the secrets of coziness within.
Step 6: Elevating Comfort and Style - Finishing Touches
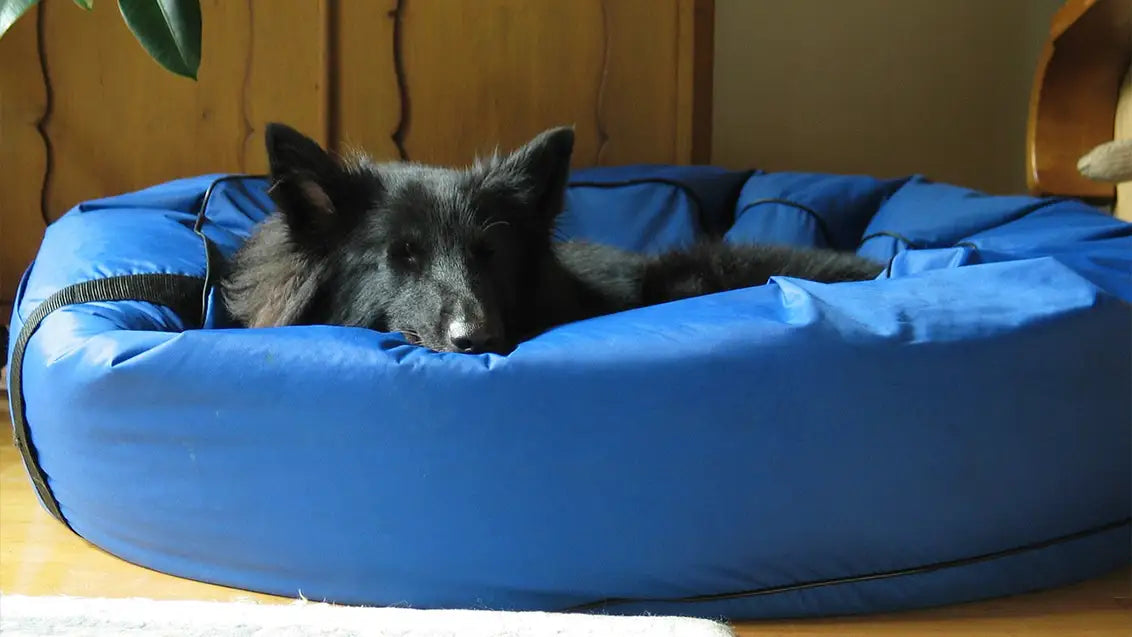
Behold, your modern dog beds masterpiece is almost complete! Take a moment to fluff and perfect your creation, ensuring that every thread is aligned and that comfort reigns supreme. But why stop there? Let your creativity soar even higher. Consider adding personalized touches to make it uniquely your dog's, such as attaching a personalized name tag or adorning the inner edge with small cushions, offering an extra layer of indulgence. These thoughtful touches not only enhance the visual appeal of the dog donut bed but also provide additional pockets of coziness for your furry friend to relish.
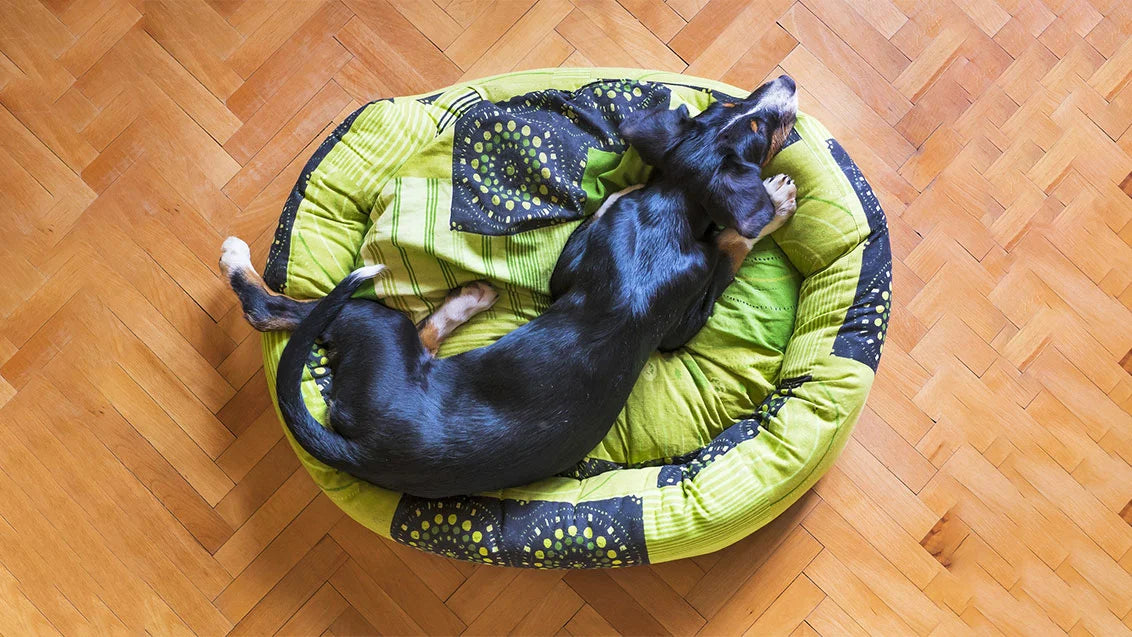
Creating your own donut dog bed is a fun, rewarding DIY project that lets you customize a cozy resting place for your furry friend. It saves money, strengthens your bond with your pet, and allows for unique and stylish donut dog beds. You have control over quality and comfort, ensuring your dog's optimal relaxation. With Nestpets, unleash your creativity and give your pet the best donut dog bed to snuggle and dream!